The chart room
Dreadmoor map: the Submerged Lands, marked.
A schematic chart of the demo region. Select a mark to see what waits there, filter the chart by type, and follow the routes that connect the ports, fishing grounds and the gate at The Throat.
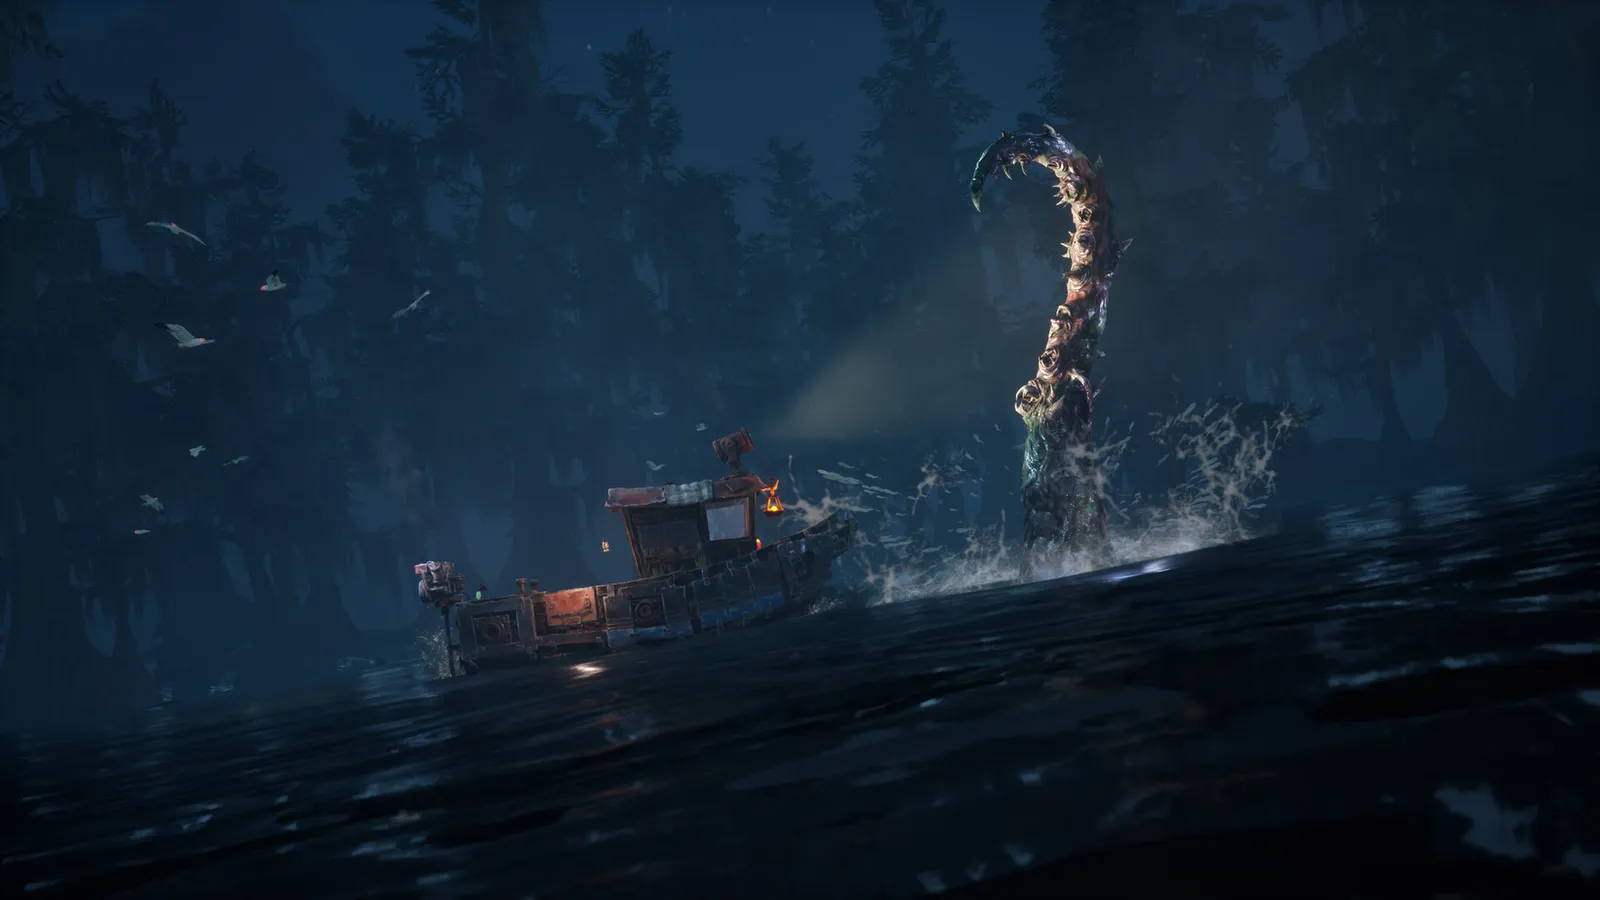
The channel looks wider on the chart than it does at the helm.
Chart basis
Demo quest routes, not in-game coordinates.
Travel rule
Fuel out and back. The outer channel is one engine upgrade away.
Marks
10 marks across six categories. Tap one to read the field note.
Port
Betsy and Sons
Gill and Bozur run the shop. This is where you accept fishing contracts, buy the Carburetor, sell catches and find the Grinder, Thresher, Fuel Larva and workbench. The Bunkhouse key comes from the opening conversation here.
Meet the tradersSchematic chart based on the demo's quest routes, not a 1:1 copy of the in-game map. Marks show relative areas rather than exact coordinates.
Reading the chart
A route, not a treasure map.
The demo funnels you west to Betsy and Sons, then south and east as John's repairs demand materials. The chart shows the shape of that loop; the journal gives the exact objective.
Follow the full routeStart at the Abandoned House
The opening beach and house are the only place to find the Axe and the first Metal Plates and Rope. Tune the radio before leaving.
Make Betsy and Sons your base
The Trading Post holds the shop, Grinder, Thresher, Fuel Larva, workbench and Bunkhouse. Most quests return here before the next leg.
Sail out for materials
Angler's Island supplies Coral Fiber. The salvage fields supply Metal Plates, Rubber and Bug Slime. The fishing grounds supply the three contract species.
Finish at The Throat
The gate complex is the final route. Fuel the generator, repair the waterway and get both wheels turning before you can leave.
Fishing grounds
What bites where.
The demo's fish data lists habitat counts, not named coordinates. These are the practical bands you can plan around.
| Level band | Where to look | Typical species | Bait |
|---|---|---|---|
| 0 – 15 | Trading Post flats, shelter channels, tutorial water | Bellybulge, Snapper, Softgrazer, Cryptmaw | Wind-Up Tin, Earthworm, Rainbow Fin |
| 10 – 30 | Outer channels, predator splash zones, wreck fields | Harpooner, Glowbug, Bloodgill, Greasechar | Rainbow Fin, Flaming Belly, Deadly Tick |
| 30 – 50 | Deep water near The Throat approach | Sharpfin, deep predators, class 3 specimens | Sturdy Earcrawler, Flaming Belly |
Level bands are a planning aid, not a strict spawn rule. Check the fishing spot prompt for the actual species list before choosing bait.
Chart questions
Map FAQ.
Is the Dreadmoor map open world?
The Submerged Lands are explored by boat between islands and settlements, but the Early Access release is planned to include one major region rather than a full open world. The demo covers the area around Betsy and Sons, Angler's Island and The Throat.
How do I get to Angler's Island?
Sail to the island marker after John the Fifth sends you for Coral Fiber. Dock, go ashore and use the Axe on the coral growths. The island is also a salvage stop, so check the containers before returning.
Where is The Throat in Dreadmoor?
The Throat is the waterway gate at the end of the demo route. Follow the objective after installing the Upgraded Engine; the approach leads to a large gate complex with a generator, workshops and two water wheels.
Does the map show exact fishing spot coordinates?
No. Our chart is a schematic of the demo's quest routes and relative areas, not a coordinate-perfect copy of the in-game map. Use the in-game fishing spot prompt to confirm the target before casting.
Where is the best place to fish in the demo?
The first spot is the fishing platform behind the Dry Dock at Betsy and Sons, where Snappers bite on Earthworms. The peaceful Softgrazer spot and the predator splash zones unlock as the contracts progress. Higher-level fish sit in the outer channels once the boat is upgraded.
The chart is most useful with the walkthrough open.