Field manual / angling
Dreadmoor fishing guide: the line, the lie and the landing.
Dreadmoor's fishing is a first-person fight. You read the water, choose the lure, keep the rod still for a peaceful bite, then pull against a fish that wants the line back. This guide covers the entire loop, from your first Earthworm to the three-Harpooner contract.
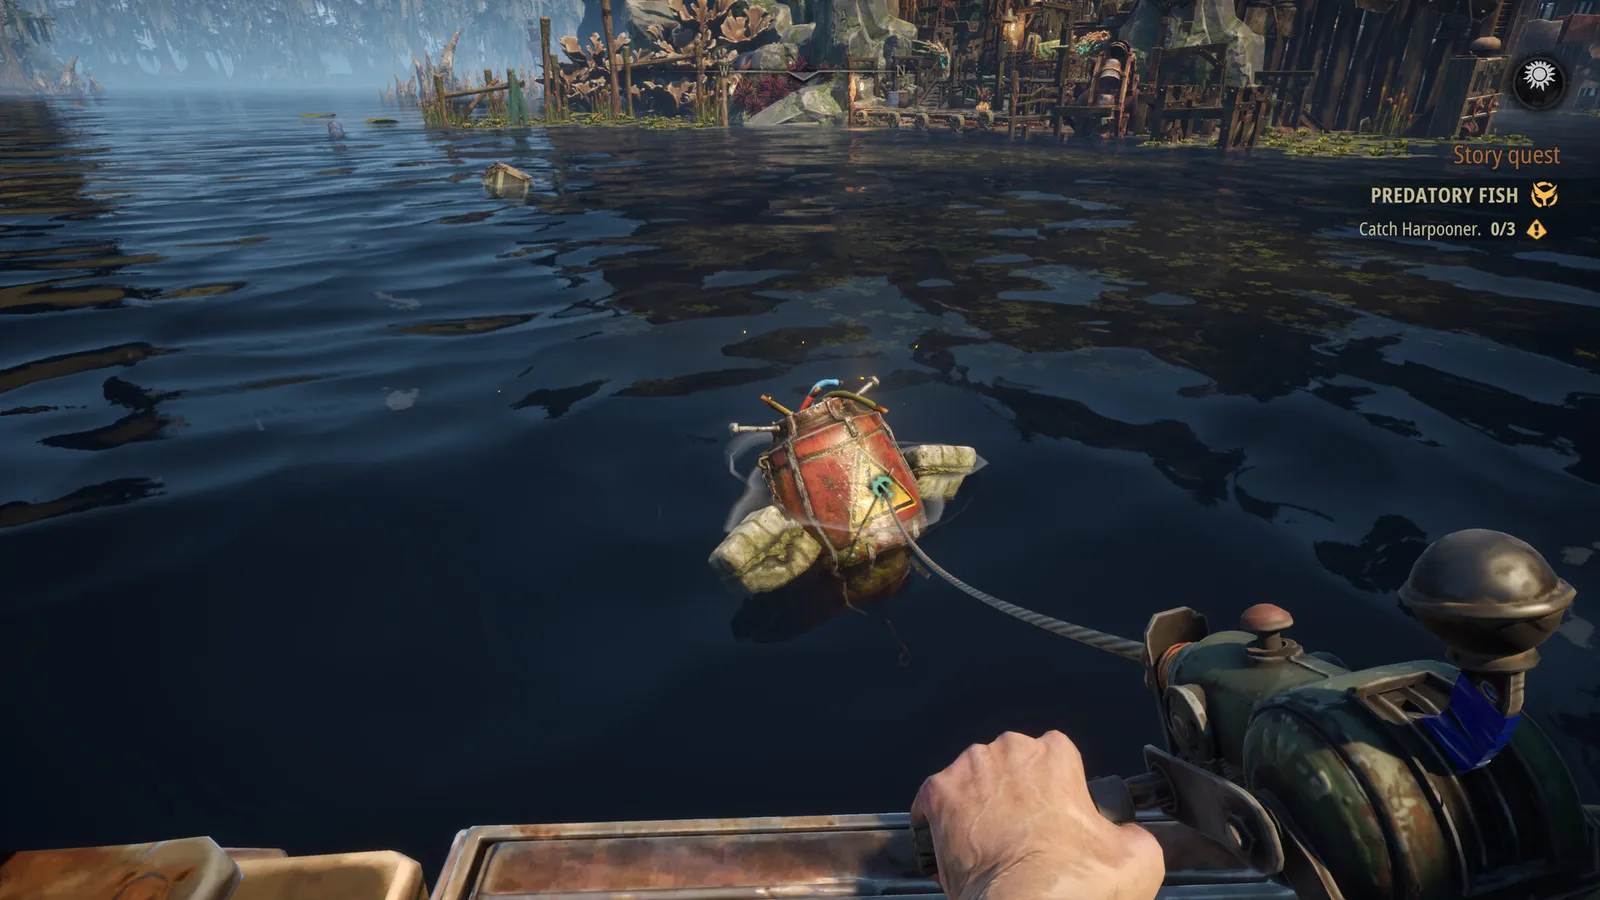
The first cast is a conversation. The fish answers with tension.
Quick answer
Equip the Simple Rod and Earthworm for the first five Snappers. Pull opposite the fish's movement to drain stamina, reel when it tires, and stop reeling before Line Tension fills. For Softgrazers, craft Wind-Up Tin; for Harpooners, use Rainbow Fin in a splash zone and retrieve it slowly.
The fishing loop, start to finish
Every fishing spot in Dreadmoor runs through the same six beats. The variables are the fish's temperament, its stamina, the lure it wants and how much line tension you can survive.
- Interact with the spot. The prompt opens the tackle screen and tells you which fish are active there.
- Choose a rod and bait. The Simple Rod is enough for the opening contracts. The bait is the part that matters.
- Cast into the zone. Aim at the active water, not the scenery. For predators, aim inside the splash zone.
- Wait or retrieve. Peaceful fish need a still rod. Predators need a moving lure.
- Fight stamina and tension. Pull opposite the fish, reel when it tires, ease off when the line strains.
- Land and keep. When the fish is close, use the Land Fish prompt. Keep it for the contract or release it deliberately.
Mouse or keyboard: which fishing controls to use
Dreadmoor lets you choose mouse or keyboard rod control during the introductory fishing sequence, and you can change it later in the settings. Mouse movement is intuitive for the first Snappers, but stronger fish change direction quickly and can require large desk movements. If you keep losing the pull, try the keyboard scheme before assuming you need a better rod.
The underlying rules do not change: your rod has to oppose the fish's movement. The input method only changes how quickly you can reverse it.
Stamina: how to tire a fish without losing it
A hooked fish swims against the rod. Pull in the opposite direction to drain its Stamina. If the fish moves left, pull right; if it changes direction, change with it. Holding one direction and hoping is how a short fight becomes a broken line.
When Stamina reaches zero the fish is exhausted, but it is not caught. You still have to bring it to the boat, and it can recover Stamina during the retrieval. If it starts fighting again, stop forcing the catch, oppose the new run until it tires, then resume.
The heaviest size class is the real test. A class 3 Snapper has 100 stamina; a class 3 Softgrazer has 110; a class 3 Sharpfin has 120. Those numbers are not huge on their own, but they sit on top of a higher tension rate, which is the part that ends runs.
Line Tension: why your line snaps
Line Tension is the strain meter. Reeling against an actively fighting fish raises it. Letting a fish swim too far away can also raise it. If the meter reaches maximum, the line snaps and the fish is gone.
The dangerous moment is usually the final retrieval. The fish looks close, its Stamina is low, and it makes one more run. If you keep reeling through that run, the tension spikes. Ease off, let the fish take a little line, then start again. Losing a metre is cheaper than losing the catch.
Landing and keeping a fish
Once the fish is close enough, the Land Fish interaction appears. Complete it to bring the catch aboard. Landing and keeping are not always the same decision: if you release a fish by mistake, it is gone, and it will not count for a contract or processing recipe.
Be especially careful with Softgrazers and Harpooners. They take more effort to catch than the opening Snappers, and the quest needs all three of each. If your hold is full, deal with the inventory before you start another fight.
Bait: peaceful, predatory and the trophy options
Bait is a category, not a flavour. Peaceful fish take stationary or sound-based bait; predators need movement. Using the wrong category usually produces no bite at all, no matter how long you wait.
| Bait | Type | Rarity | Best for | Recipe |
|---|---|---|---|---|
| Earthworm | Universal | Common | Snapper only in the demo data | Starting bait |
| Wind-Up Tin | Peaceful | Rare | Small scavengers; Softgrazers | 1× Metal Plate + 1× Fish Meat |
| Sturdy Earcrawler | Peaceful | Unique | Larger peaceful fish; trophy chance | 1× Metal Plate + 1× Battery + 1× Thermo Coil + 1× Chromatic Scales |
| Rainbow Fin | Predatory | Common | Most predators; Harpooners | 1× Fish Meat + 1× Metal Plate + 1× Chromatic Scales |
| Flaming Belly | Predatory | Rare | Most predators; trophy chance | 1× Fish Meat + 1× Jaws + 1× Metal Plate + 1× Lily |
| Pipecross | Predatory | Unique | Bonescar, Bully, Rammfish, Stonegnawer | No workbench recipe in demo |
| Deadly Tick | Predatory | Rare | Bonescar, Bully, Rammfish, Stonegnawer | 1× Sharpfin Flesh + 1× Circuit Board + 2× Sturdy Metal + 1× Cable |
Full recipes, chum notes and per-fish bait affinities are in the bait and tackle guide.
Predator fishing: the splash zone
Predators do not wait for a stationary bait. Look for disturbed water — the splash zone — and cast your lure inside it. Once the lure lands, start retrieving. The fish may take interest and follow; the important part is the pace.
Reel too quickly and the predator cannot catch the lure. Leave it motionless for too long and the fish loses interest. Keep a steady, controlled retrieve. If a fish follows and turns away, try another cast with a different pace rather than blaming the bait.
Rainbow Fin is the workhorse for the Harpooner contract. Flaming Belly is the trophy-chance upgrade, but it costs Jaws, which you may also want for the reinforced hook grip or serrated axe edge. Pipecross and Deadly Tick are listed for a narrower predator group: Bonescar, Bully, Rammfish and Stonegnawer.
The Softgrazer contract
The peaceful contract asks for three Softgrazers. Research Wind-Up Tin, craft at least one with a Metal Plate and Fish Meat, and sail to the marked peaceful spot. Softgrazers have a deeper stamina pool than Snappers, and they can recover during the retrieval. Oppose the run, wait for the pause, and keep all three whole until the Thresher processes them into Chromatic Scales.
Do not sell the whole catch. John needs Chromatic Scales for the hull progression, and Rainbow Fin also uses them. If you process all three and spend the scales, you may need another Softgrazer trip. The Softgrazer field sheet has the size and tension numbers.
The Harpooner contract
The second contract asks for three Harpooners. Craft Rainbow Fin, find the marked predatory water and cast into a splash zone. Retrieve steadily, let the fish follow, and do not yank the lure away. Once a Harpooner bites, the normal stamina and tension fight applies.
Delivering the three fish does not put the Carburetor in your inventory. Return to Gill and Bozur, open the shop and buy it for 50. Then take it to the Dry Dock for the Upgraded Engine.
Rods, line and reels: what to upgrade first
The Simple Rod can finish the demo. Upgrades make the fights more forgiving, not possible. If you are losing fish, fix the input and tension habits before spending materials on gear.
| Upgrade | What it changes | Materials | Priority |
|---|---|---|---|
| Braided Line | Stronger line; fewer break-offs | 2× Chromatic Scales, 2× Rope, 1× Coral Fibers | High |
| Reinforced Rod | Tires fish out faster | 2× Coral Fibers, 1× Bug Slime, 1× Chromatic Scales, 1× Metal Plate | Medium |
| Baitcasting Reel | Faster line recovery | 1× Metal Plate, 1× Rubber, 2× Gear, 1× Coral Fibers | Medium |
| Sturdy Earcrawler | Trophy chance for peaceful fish | 1× Metal Plate, 1× Battery, 1× Thermo Coil, 1× Chromatic Scales | Optional |
| Flaming Belly | Trophy chance for predators | 1× Fish Meat, 1× Jaws, 1× Metal Plate, 1× Lily | Optional |
Processing: Grinder, Thresher and Fuel Larva
Three machines turn a catch into something the boat needs. The Grinder produces Fish Meat for bait and fuel. The Thresher processes suitable peaceful fish into Chromatic Scales. The Fuel Larva eats Fish Meat and produces fuel, which you transfer to the trawler with the Fuel Gun.
Producing fuel and filling the tank are separate actions. If the larva has been fed but the boat still shows empty, return to the Fuel Gun. Check the tank before every long trip; the run to Angler's Island and The Throat is not a good place to discover a dry tank.
Fishing troubleshooting
| Problem | Likely cause | Fix |
|---|---|---|
| Fish never bites | Wrong bait category or wrong spot | Check the spot's listed species; use peaceful bait for peaceful fish, predator lures in splash zones. |
| Line snaps | Reeling through an active run | Stop reeling when tension climbs; let the fish run and resume in the pause. |
| Fish escapes at the boat | Final burst of resistance | Ease off before the Land Fish prompt; do not force the last metre. |
| Cannot start fishing | Not inside the active zone | Move closer to the marked water until the interact prompt appears. |
| Harpooner ignores lure | Reeling too fast or too slow | Retrieve steadily; recast with a different pace if it turns away. |
| Catch not counted | Fish was released or sold | Keep contract fish whole until the turn-in; do not process them first. |
Fishing FAQ
How do you fish in Dreadmoor?
Interact with a fishing spot, select a rod and bait, then cast into the active water. Peaceful fish need a still rod and a patient bite; predators need a moving lure in a splash zone. Once hooked, pull opposite the fish's movement to drain stamina, reel when it tires, and ease off before line tension reaches maximum.
Why does my fishing line keep breaking in Dreadmoor?
Line tension climbs when you reel against a fish that is still fighting or when the fish runs far from the boat. If the tension meter reaches its limit, the line snaps. Stop reeling, let the fish run, and resume when the meter falls. A Braided Line upgrade gives you more room for error.
What is the best bait for Snappers in Dreadmoor?
Earthworm. The demo's Snapper record lists Earthworm at a 100% bait share. You do not need a crafted lure for the first five-Snapper contract; the Simple Rod and Earthworm are enough.
How do I catch Softgrazers in Dreadmoor?
Research and craft Wind-Up Tin at a workbench using one Metal Plate and one Fish Meat, then equip it at the marked peaceful fishing spot. Softgrazers have a large stamina pool for a peaceful fish, so keep opposing their movement and do not force the final retrieval.
How do I catch Harpooners in Dreadmoor?
Craft Rainbow Fin, sail to the marked predator area, and cast into a splash zone. Retrieve the lure steadily so the Harpooner can follow it. Reeling too quickly or leaving the lure motionless both end the chase. Once it bites, use the normal stamina and tension fight.
Is fishing required to finish the Dreadmoor demo?
Yes. The main route requires five Snappers, three Softgrazers and three Harpooners. Fishing also supplies Fish Meat, Chromatic Scales and Jaws for the boat modules and bait recipes needed to reach The Throat.