The route / demo
Dreadmoor demo walkthrough: from the first radio call to The Throat.
Every main quest in the October 2026 demo, in order. Use the checkboxes to keep your place; progress is stored in this browser.
Most detours are a missing material, not a missing key.
Route progress
0 / 11 chapters
Tick a chapter when it is done. The log survives a refresh on this device.
The demo route at a glance
| Chapter | Goal | Key unlock |
|---|---|---|
| 01–03 | Reach Betsy and Sons, settle the debt, take the rod | Simple Rod, Bunkhouse |
| 04–05 | Catch five Snappers and repair John's still | Dry Dock Key |
| 06–07 | Fuel the boat, repair the hull, process Softgrazers | Hull Protection |
| 08 | Catch Harpooners, buy the Carburetor | Upgraded Engine |
| 09 | Repair The Throat and open the gate | Demo completion |
Chapter 00
Before you sail
Build, saves, contract fish and the one habit that prevents most soft-locks.
- → Start a fresh save if you played an earlier playtest. The October 2026 demo uses build 26140998, and old playtest saves can cause bugs or crashes.
- → Expect roughly one to two hours for the main route. Exploration, optional fish and boat upgrades can push that to three or more.
- → Keep contract fish whole. The five Snappers, three Softgrazers and three Harpooners are deliveries, not ingredients. Processing or selling them before turn-in means catching them again.
- → Read the journal objective before leaving the dock. It is the best answer to “what now?” when a quest step seems stuck.
- → Choose mouse or keyboard rod control in the tutorial. You can change it later; the keyboard scheme is easier for fast direction changes.
Chapter 01
The Abandoned House
Loot the opening room, take the Axe, tune the radio and sail west.
- → Search the house before leaving. Metal Plates and Rope are available here and both become useful almost immediately.
- → Pick up the Axe. You need it to harvest Coral Fiber later, and it opens crates and rotten doors.
- → Interact with the radio and tune it until the caller's conversation starts. The objective changes from “Look Around” once the signal is clear.
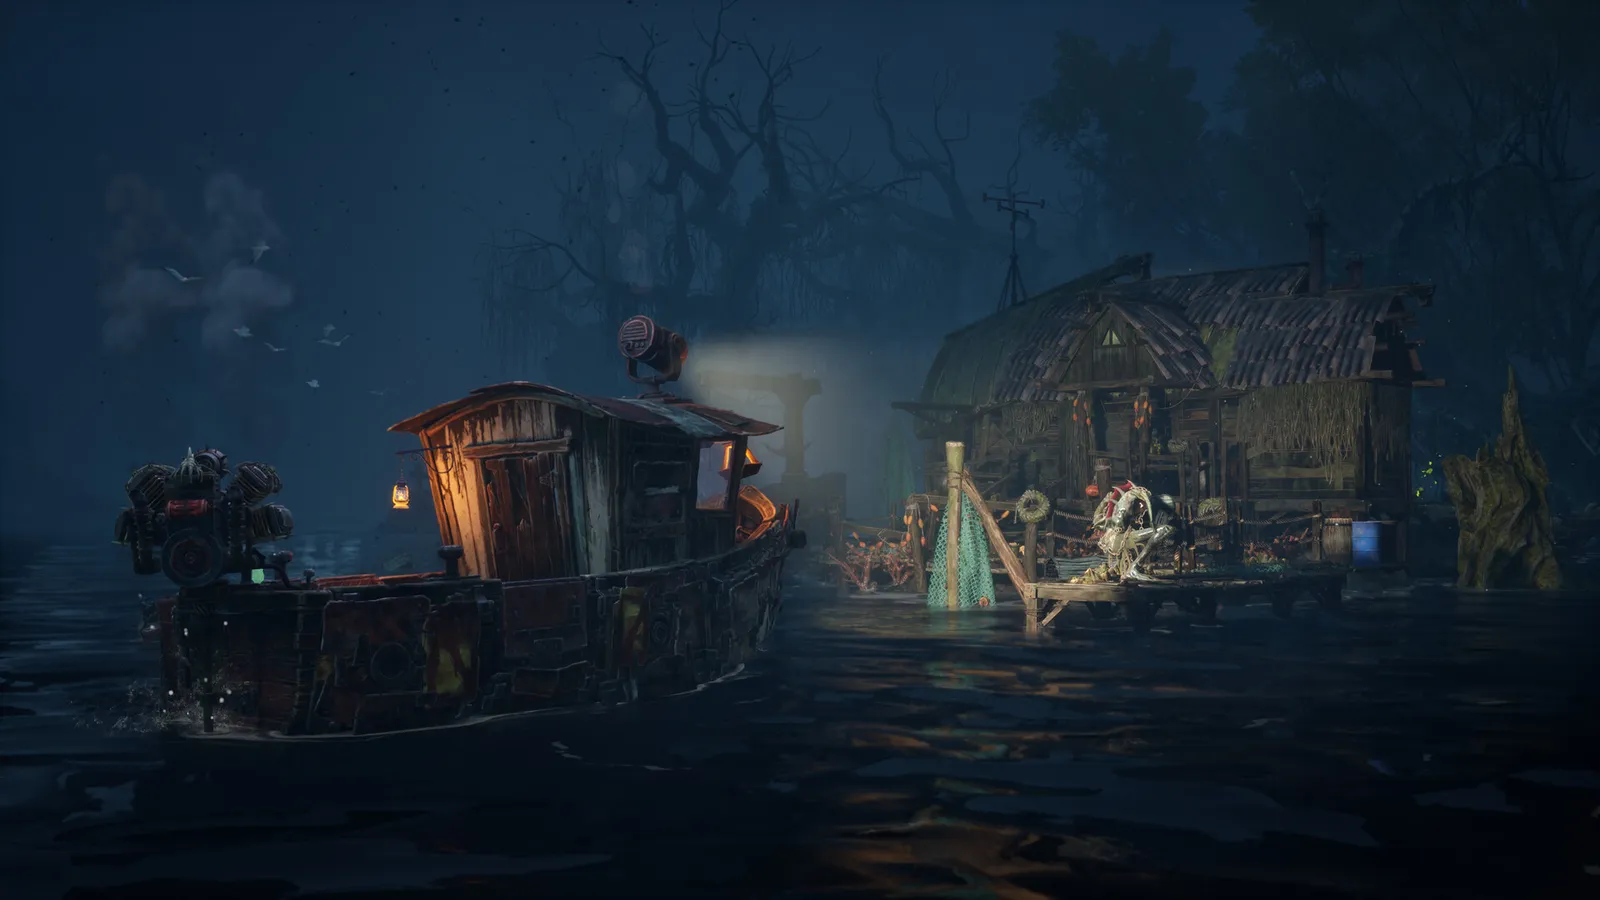
- → Board the motorboat and follow the caller's directions west to the Trading Post. You do not need to collect every floating barrel on this first trip.
- → Moor at the dock and enter Betsy and Sons. The shop is the large trader building at the settlement.
Chapter 02
Betsy and Sons: Essence, debt and the Bunkhouse
Meet Gill and Bozur, accept the Blight treatment and collect your chest.
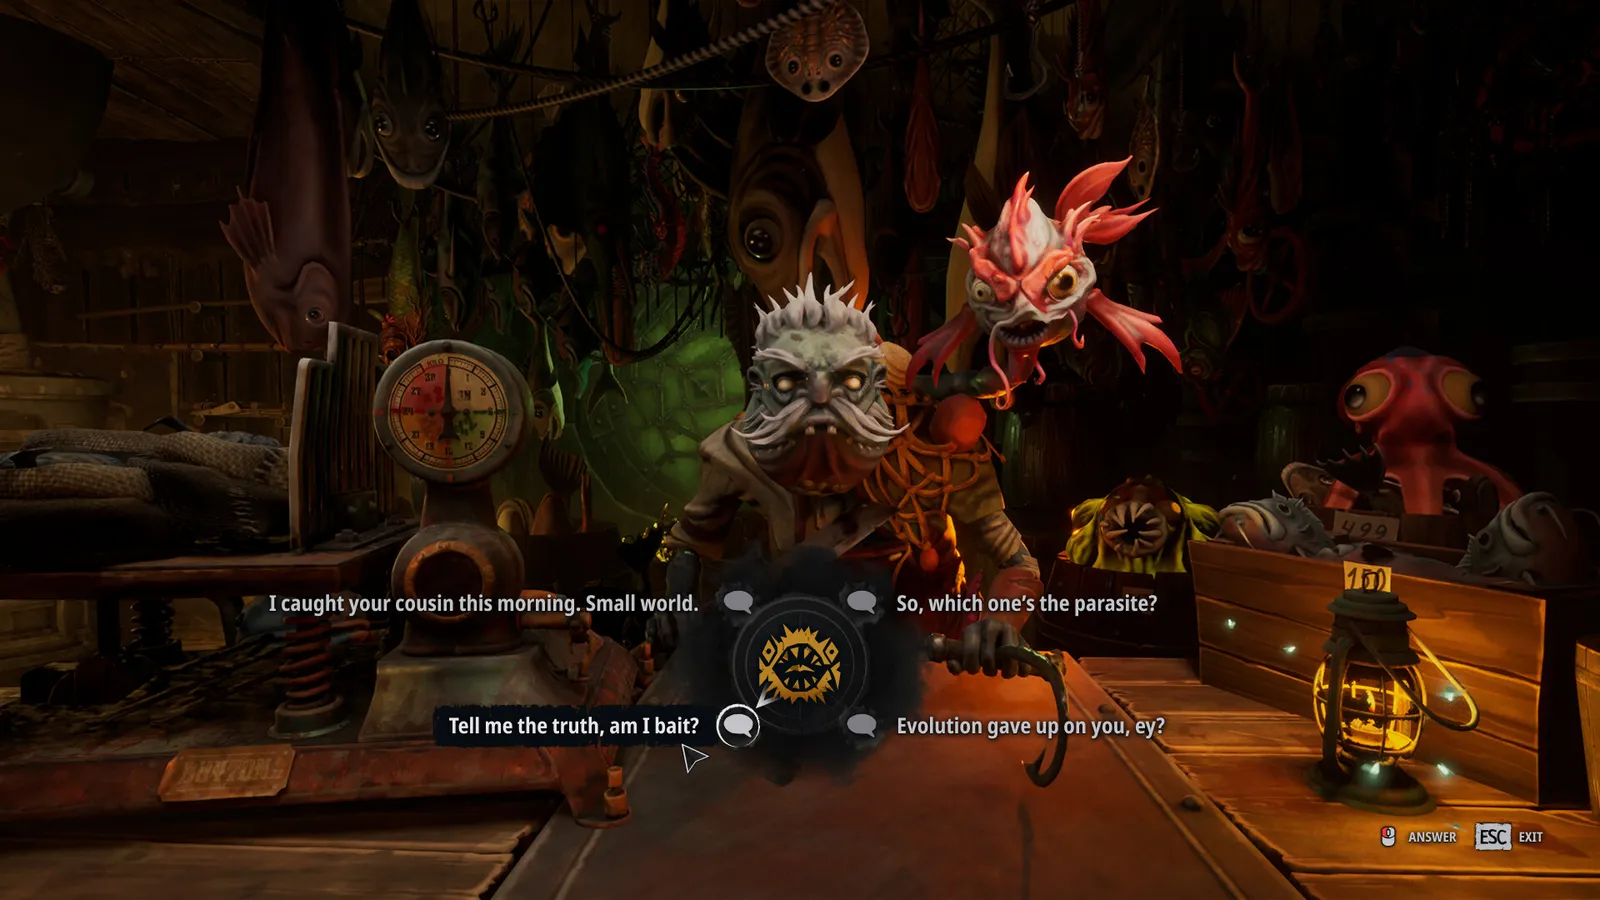
- → Speak to Gill and Bozur inside the shop. They explain the Blight and offer Essence to treat its effects.
- → Accept the treatment. It is not free: the traders record it as a debt you repay through work.
- → Take the Bunkhouse key they give you, then collect your personal chest from the pier.
- → Carry the chest to the Bunkhouse. Do not sail to another island first; the chest is part of the opening quest.
- → Enter the Bunkhouse, place the chest in its marked position and inspect the large opening in the wall.
Chapter 03
The Bunkhouse: repair, sleep, collect the rod
Patch the wall, sleep until morning and take the Simple Rod.
- → Pick up the available repair material and patch the opening in the wall. The overnight objective will not proceed until the room is secure.
- → Use the bed and sleep until morning.
- → Gill and Bozur contact you with the first fishing assignment.
- → Collect the Simple Rod before leaving the Bunkhouse. It is the starting rod and the first contract is built around it.
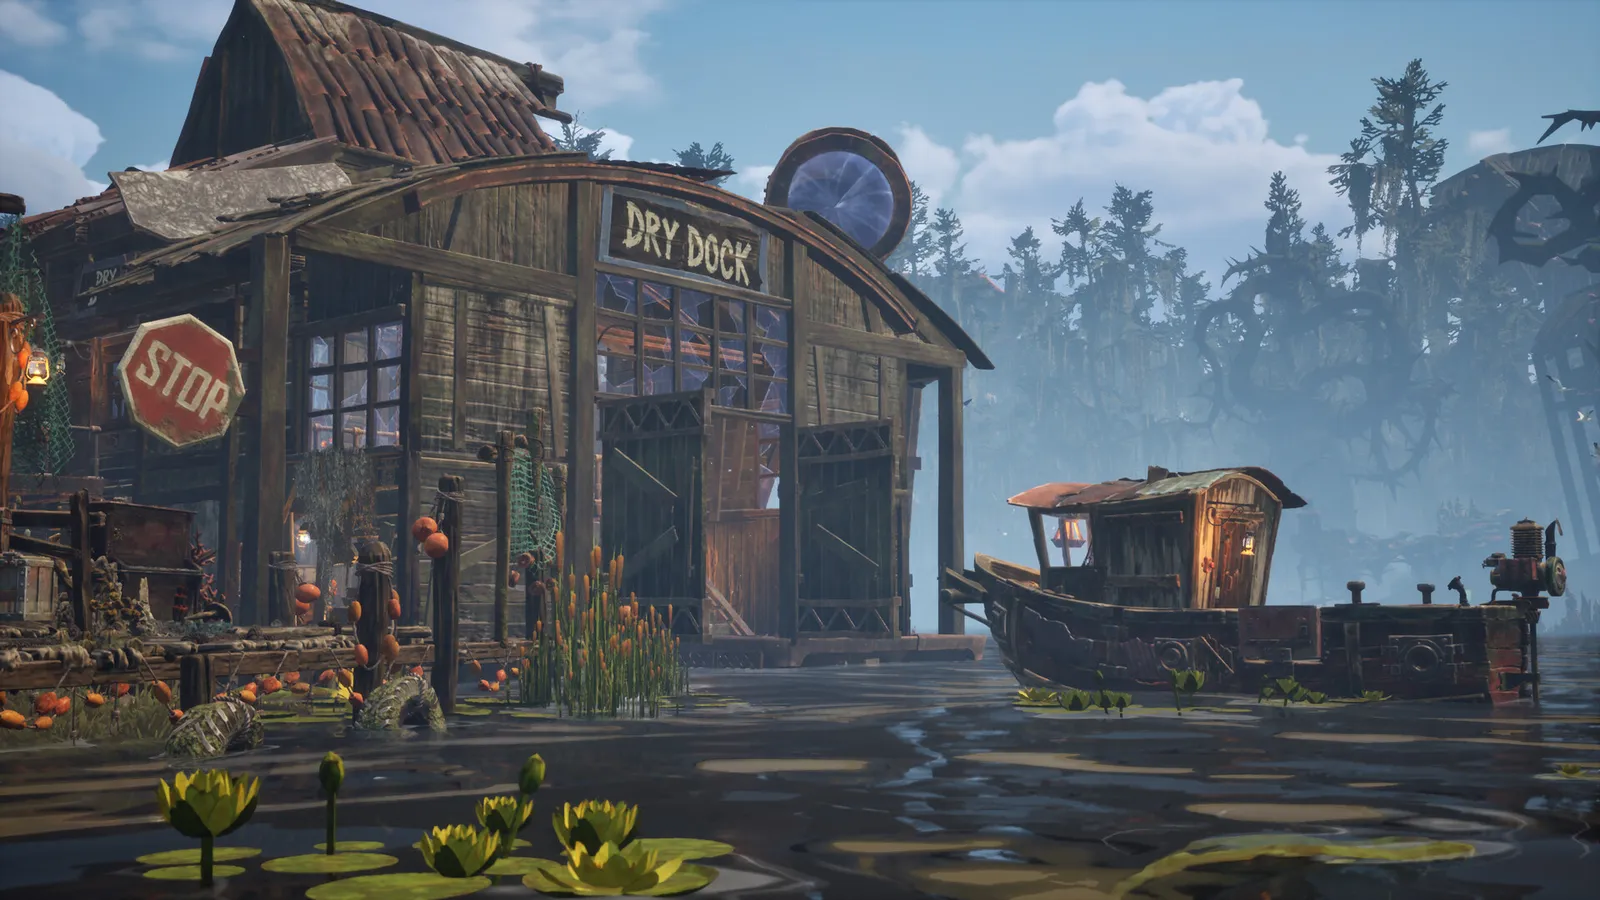
- → Meet the traders at the fishing platform behind the Dry Dock.
Chapter 04
The five-Snapper contract
Simple Rod, Earthworm, five fish. The first real lesson in stamina and tension.
- → Equip the Simple Rod and Earthworm at the fishing platform behind the Dry Dock.
- → Cast into the active water and keep the rod still until a Snapper takes the bait.
- → Pull opposite the fish's movement to drain Stamina. Reel when it tires, and stop reeling before Line Tension fills.
- → Catch five Snappers and keep all five whole. Do not process or sell them.
- → Return to Gill and Bozur and deliver the catch. They then point you toward John the Fifth and the Dry Dock.
Chapter 05
John the Fifth and the Moonshine Still
Remove the prosthetic leg, gather three materials and earn the Dry Dock key.
- → Find John the Fifth near the Trading Post and ask about the Dry Dock.
- → Inspect the Moonshine Still. A prosthetic leg is lodged inside; remove it before the repair prompt will progress.
- → Gather Coral Fiber at Angler's Island. Sail there, go ashore and use the Axe on the coral growths.
- → Gather Bug Slime from the small blue creatures on the water. Pull them in with the Hook Gun, then collect the material.
- → Gather Metal Plates from floating barrels, metal containers and salvage around the islands. Use the Hook Gun to retrieve the containers.
- → Return to the still and complete the repair with the requested quantities.
- → Speak to John again to receive the Dry Dock Key.
Chapter 06
Fuel, power and the first Dry Dock repairs
Feed the Fuel Larva, fix the fuse box, clean the hull and patch the damage.
- → Process fish at the Grinder to make Fish Meat, then feed the Fuel Larva.
- → Use the Fuel Gun to transfer the produced fuel into the motorboat. Feeding the larva does not automatically fill the tank.
- → Enter the Dry Dock with John's key. Inspect the Fuse Box and repair it with one Cable; a suitable cable is nearby.
- → Use the separate Power Switch to restore lighting and equipment power.
- → Bring the boat onto the Boat Lift and raise it for maintenance.
- → Operate the Pressure Pump until the cleaning system is ready, then use the Water Cannon to remove the Polyps from the hull.
- → Load Bug Slime into the Repair Gun and repair the damaged hull sections. Inspect each section individually; one repaired slot does not mean the whole hull is done.
- → Report to John when the hull work is complete. He introduces the reinforcement and engine objectives.
Chapter 07
Chromatic Scales and Hull Protection
Catch three Softgrazers, process the scales, research the hull and install it.
- → Ask Gill and Bozur about the next job to receive the Wind-Up Tin blueprint.
- → Craft Wind-Up Tin at the workbench using one Metal Plate and one Fish Meat.
- → Sail to the marked peaceful fishing spot and catch three Softgrazers. Keep all three whole.
- → Process the Softgrazers at the Thresher to obtain Chromatic Scales.
- → Give John the scales he asks for. He rewards you with Scraps of Knowledge and points you to the research interface.
- → Research Weak Hull Protection and the Upgraded Engine in the Mastery tree. Do not spend the pages on unrelated unlocks first.
- → Craft Hull Protection at John's Lathe using 3× Coral Fibers, 2× Bug Slime, 2× Rope and 2× Rubber.
- → Check the Storage Locker or module-storage area if the crafted module is not in your inventory.
- → Install Hull Protection in the side-front mounting position. The demo lists Protection 2 and Boat Speed −1.
- → Report to John. He moves on to the engine replacement.
Chapter 08
The Carburetor and the Upgraded Engine
Catch three Harpooners, buy the Carburetor for 50 and replace the engine.
- → Craft Rainbow Fin at the workbench using one Fish Meat, one Metal Plate and one Chromatic Scales.
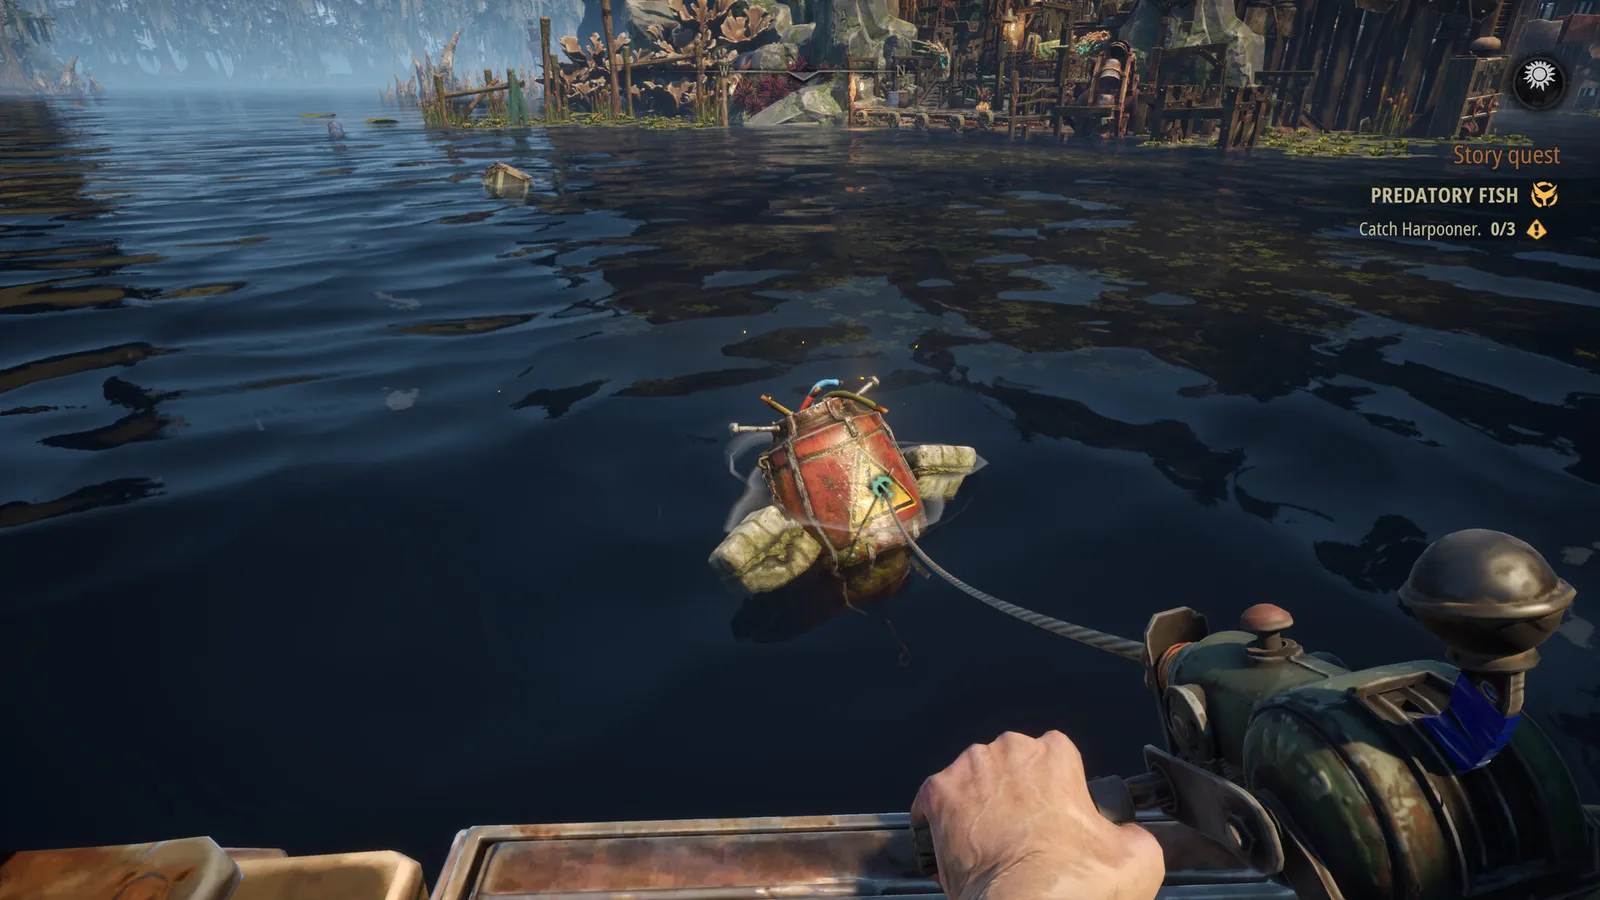
- → Sail to the marked predator area. Cast Rainbow Fin into a splash zone and retrieve it steadily so the Harpooner can follow.
- → Catch three Harpooners and deliver them to Gill and Bozur.
- → Return to the shop and buy the Carburetor for 50. Completing the contract unlocks it; it does not appear in your inventory automatically.
- → Take the Carburetor to the Dry Dock. Raise the boat on the lift and remove the Standard Engine, storing it as instructed.
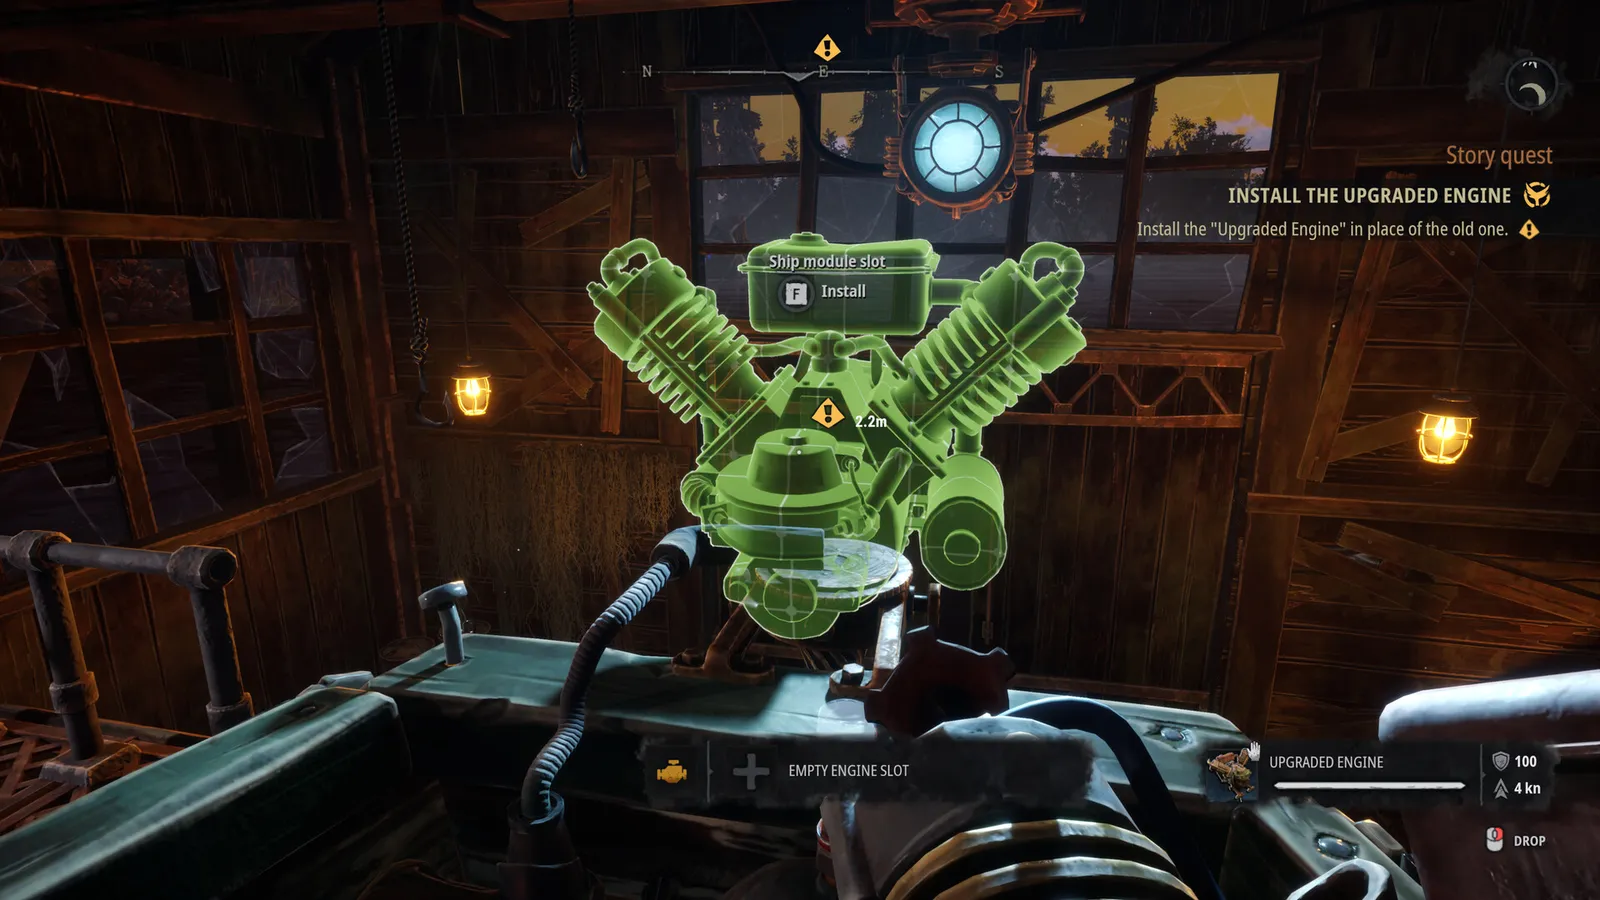
- → Craft the Upgraded Engine at the Lathe using 10× Metal Plate, 4× Gear, 2× Machine Oil and 1× Carburetor.
- → Install the Upgraded Engine in the empty engine mount. Boat speed rises from 2 kn to 4 kn.
- → Speak to John. He explains that the route out of the region goes through The Throat.
Chapter 09
The Throat: power, machinery and both wheels
Fuel the generator, repair four systems, route water to both wheels and open the gate.
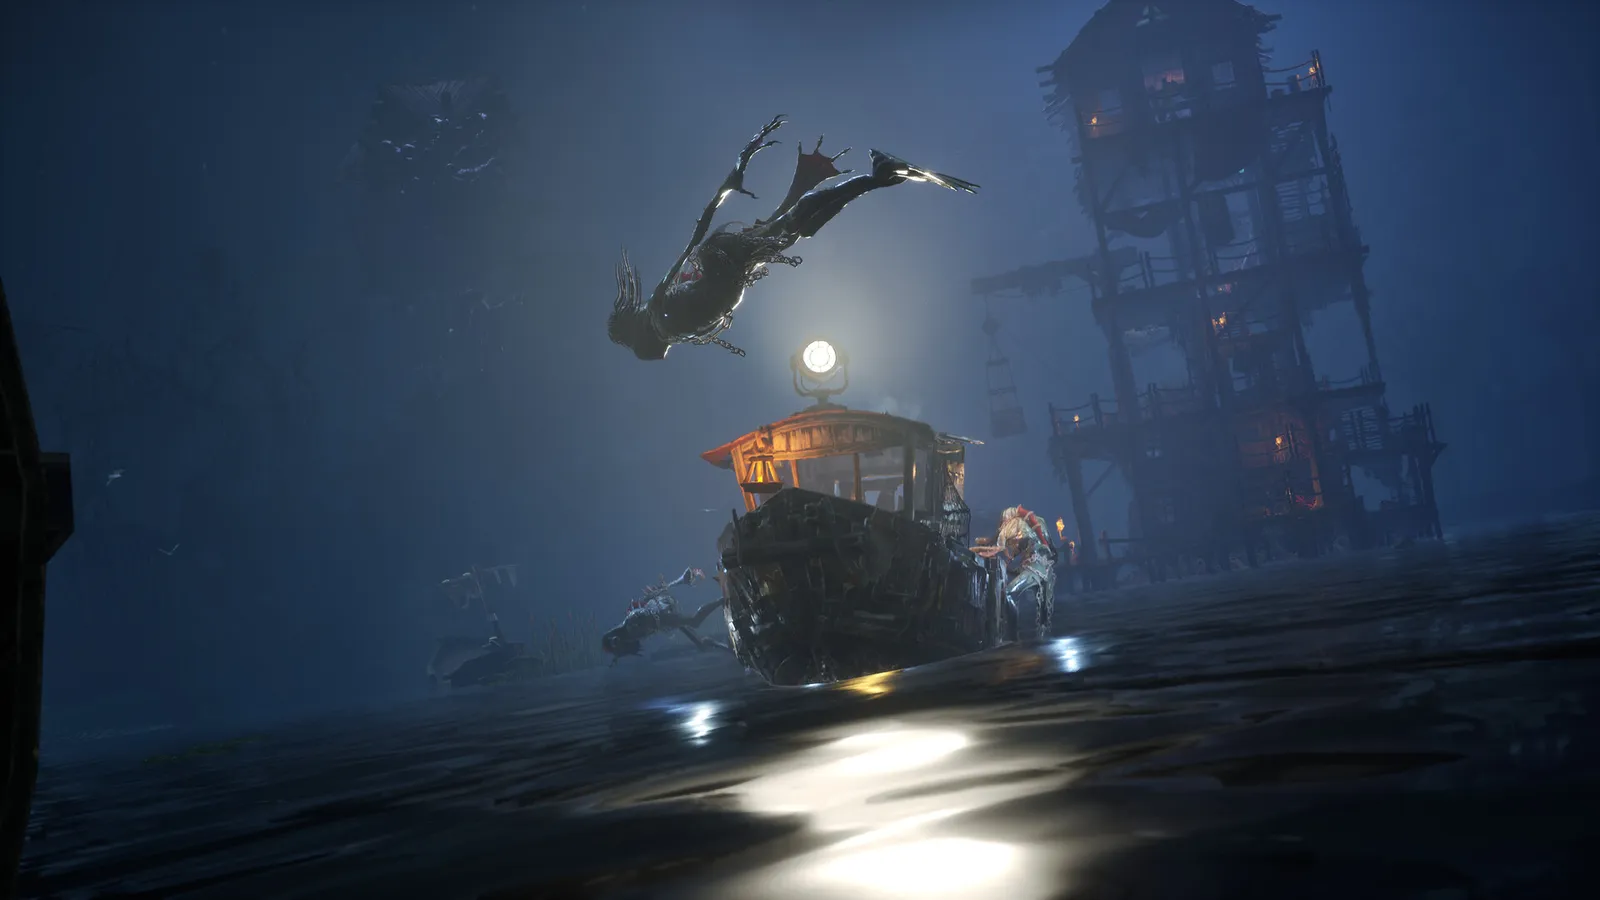
- → Check the boat's fuel and condition before leaving. The destination requires movement on foot, not just a short dock.
- → Dock at The Throat and find the Generator. It needs fuel; search the nearby working area for a Fuel Can rather than sailing back.
- → Refuel and start the generator, then try the Gate Control. The gate fails and the objective changes to repairing the waterway machinery.
- → Find and install the Thermal Coil in the damaged electrical assembly.
- → Find the replacement Gear or Axle and install it in the designated gear slot.
- → Find both Buckets and install them in the two water-wheel mounting points. One bucket is not enough.
- → Repair the damaged Water Pump in place. Do not craft a replacement at John's Lathe.
- → Use the four water-flow controls and the glowing blue pivots to route water to both wheels. The hook gun can pull the pivots that move the planks.
- → Wait until both water wheels are turning. A single wheel does not complete the objective.
- → Return to the Gate Control and open the passage. Board the boat, follow the opened route and sail until the Thank You for Playing screen appears.
Chapter 10
After the demo: what is left to do
The gate is the end of the story, not the end of the water.
- → The Thank You for Playing screen marks the end of the October demo. The area beyond the gate is not available as a continuation.
- → Optional targets remain: fill the fish ledger, hunt class 3 specimens, finish boat modules and test the afterburner.
- → Dreadmoor enters Steam Early Access on 9 November 2026 at $19.99. Early Access adds one major region and the full core loop.
- → Do not assume demo progress will carry into Early Access. No carry-over has been announced, so treat the demo save as a temporary record.
Walkthrough FAQ
How long is the Dreadmoor demo?
Most players need around one to two hours for the main route from the Abandoned House to The Throat. Exploration, optional fish and boat upgrades can extend that to three hours or more.
Can I use an old Dreadmoor playtest save?
The developers recommend starting fresh. Older playtest saves can cause bugs or crashes in the October 2026 demo. If you want to preserve a save, back it up before deleting the local Saved folder.
Why is the Dry Dock still locked?
John the Fifth holds the Dry Dock Key, and he will not hand it over until his Moonshine Still is repaired. That requires Coral Fiber from Angler's Island, Bug Slime from the blue creatures and Metal Plates from salvage.
I delivered three Harpooners but still do not have the Carburetor. What now?
Return to Gill and Bozur and buy it for 50. The contract unlocks the shop listing; it does not place the Carburetor in your inventory automatically.
Why will The Throat gate not open?
The generator is only the first step. You need the Thermal Coil, Gear or Axle, two Buckets and a repaired Water Pump, then both water wheels turning before the Gate Control works. Check the journal wording to tell machinery repairs apart from water-flow configuration.
Does the Dreadmoor demo save carry into Early Access?
No carry-over has been announced. Treat demo progress as temporary and expect to start a new save when Early Access launches on 9 November 2026.